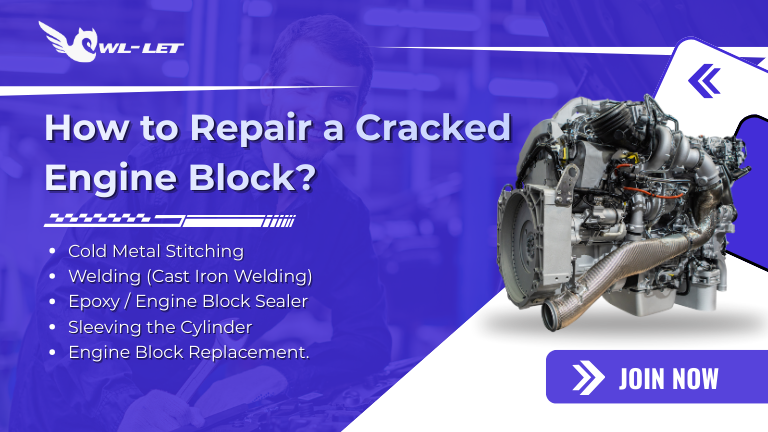
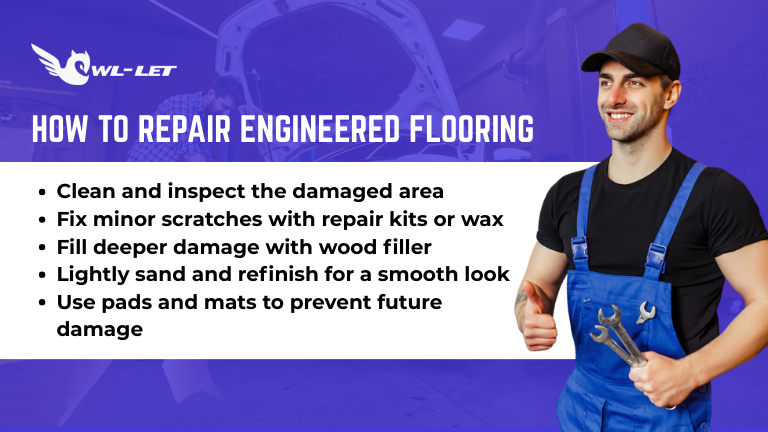
To repair engineered flooring, identify the damage type first. For minor scratches, use a manufacturer-approved wax filler stick or touch-up pen. For deep gouges, apply color-matched wood putty. For severely damaged planks, you must perform a "plunge cut" with a circular saw to remove and replace the individual board.
Key Takeaways: Engineered Wood Repair Methods
|
Damage Severity |
Recommended Fix |
Tools Needed |
Time Required |
|
Surface Scratches |
Touch-up Pen / Wax Stick |
Soft cloth, repair kit |
15 Minutes |
|
Deep Gouges |
Wood Filler & Staining |
Putty knife, wood filler |
1 Hour (plus dry time) |
|
Water Damage |
Full Plank Replacement |
Circular saw, chisel, wood glue |
2–3 Hours |
|
Dull Finish |
Screen & Recoat |
Floor buffer, polyurethane |
1–2 Days |
Why is learning how to repair engineered flooring vital for homeowners?
Engineered hardwood is a marvel of modern flooring technology, consisting of a real wood veneer atop a high-density fiberboard or plywood core. However, because the top layer (the "wear layer") is thin, you cannot simply sand it down indefinitely like solid hardwood.
Knowing how to repair engineered flooring is an essential skill for maintaining your home's value. Unlike traditional wood, mistakes during repair can penetrate the veneer, ruining the board. At Owl-Let, we believe in proactive maintenance—addressing a small scratch today prevents moisture from seeping into the core and causing irreversible "bloating" or delamination.
How do you fix surface scratches on engineered wood?
Surface-level scratches are the most common issue, usually caused by pets or moving furniture. These rarely require professional intervention.
-
Clean the Area: Use a specialized hardwood cleaner to remove dust and oils.
-
Apply a Touch-Up Marker: Choose a marker that matches the lightest grain of your wood. Draw along the scratch and immediately buff with a microfiber cloth.
-
Use a Wax Filler Stick: For slightly deeper scratches that haven't reached the core, rub a wax stick over the area until the crevice is filled. Level it off using a plastic scraper to avoid scratching the surrounding finish.
Can you repair deep gouges without replacing the plank?
When a heavy object drops and punctures the veneer, you need a more robust solution than wax.
-
Prep the Gouge: Gently remove any loose splinters with a utility knife.
-
Fill with Wood Putty: Use a high-quality, non-shrinking wood filler. It is often best to mix two colors to achieve a perfect match for the natural variegation of the wood.
-
Level and Texture: Press the putty into the hole and scrape it flush. While it's wet, you can use a toothpick to mimic the surrounding wood grain.
-
Seal: Once dry, apply a thin coat of water-based polyurethane with a small brush to match the sheen (satin, semi-gloss, or matte).
How to repair engineered flooring when the plank is severely damaged?
If a board is cracked, stained, or warped, a total replacement is necessary. This process is known as a "surgical replacement."
-
Set Your Depth: Set a circular saw to the exact thickness of the engineered plank. This is crucial—you do not want to cut into your subfloor.
-
The Relief Cut: Make two longitudinal cuts down the center of the damaged board, about an inch apart.
-
Chisel Out the Center: Remove the center strip, then gently tap the remaining edges away from the "tongue and groove" of the healthy boards.
-
Prepare the New Plank: Take a replacement plank and cut off the bottom groove "lip" so it can drop vertically into the space.
-
Glue and Weight: Apply a high-quality flooring adhesive to the subfloor and the tongues. Drop the board in and place a heavy weight (like a stack of books) on it for 24 hours.
Conclusion: Maintaining Your Assets with Owl-Let
Mastering how to repair engineered flooring saves you thousands in contractor fees and keeps your home looking pristine. Whether you are patching a scratch or replacing a board, the key is patience and the right materials.
At Owl-Let, we believe that quality maintenance shouldn't be a luxury. We apply this same philosophy to your vehicle. Don't wait for a "click" in your floor or a "knock" in your engine to take action.
Protect your most valuable assets today. Visit Owl-Let to explore our expert guides and join our Car Service Membership Plan. Starting at just $24.99 Monthly, you’ll receive the professional support you need to keep your life—and your car—running smoothly.
Comments 0
No comments yet
Be the first!