To repair an engine mount, you must support the engine's weight with a jack and wood block, unbolt the damaged mount from the chassis and engine block, and install a new OEM-spec unit. While the rubber itself cannot be "repaired," replacing the entire mount assembly restores vibration dampening and engine alignment.
Key Takeaways: Engine Mount Service at a Glance
|
Factor |
Detail |
Expert Insight |
|
Complexity |
Moderate |
Requires supporting the engine; not for beginners. |
|
Time Required |
2 – 4 Hours |
Varies by accessibility and bolt corrosion. |
|
Primary Tool |
Floor Jack & Wood |
Crucial for supporting the oil pan without damage. |
|
Replacement Rule |
Replace in Pairs |
If one mount fails, the others are likely overstressed. |
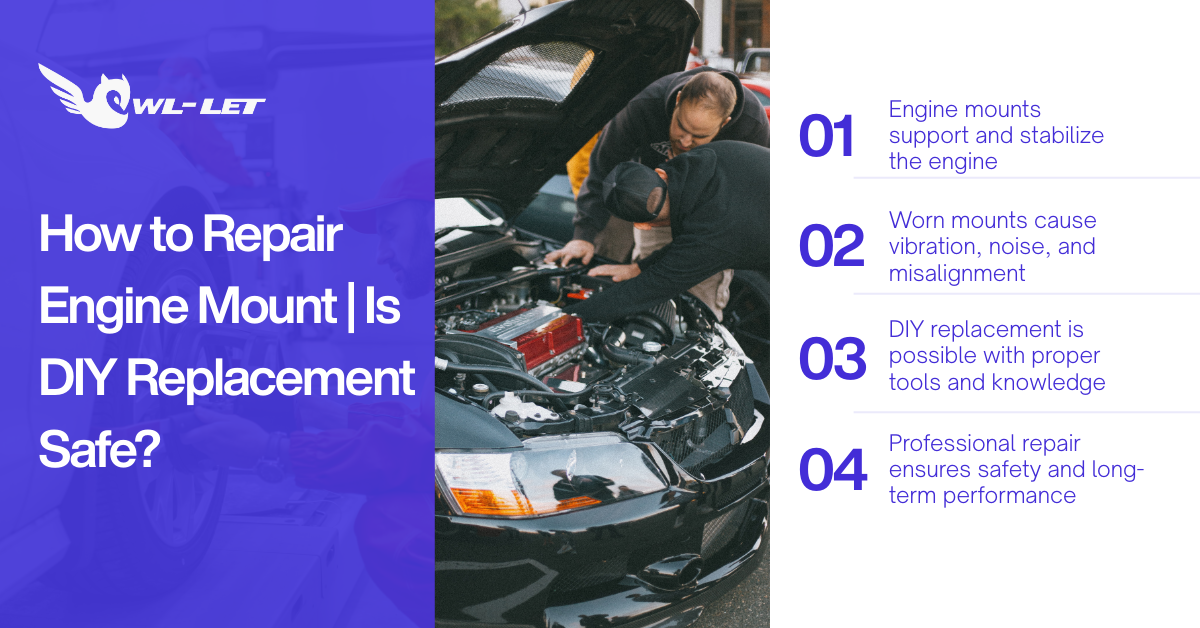
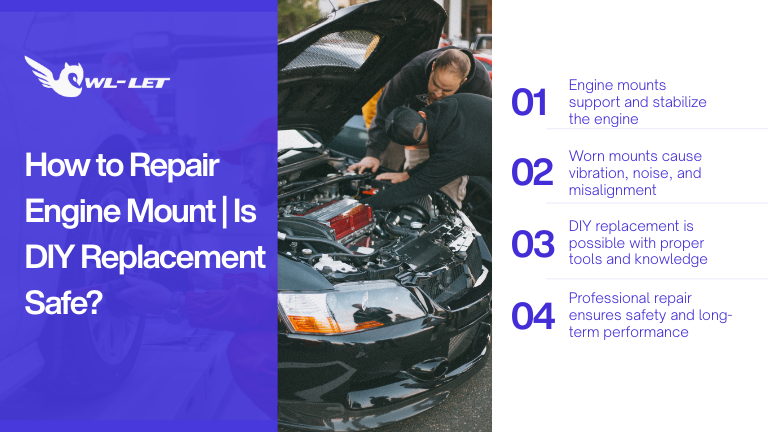
Why Is Learning How to Repair Engine Mount Assemblies Critical for Your Car?
Engine mounts are the unsung heroes of your vehicle’s drivetrain. They serve a dual purpose: they physically secure the engine to the vehicle’s frame and isolate the cabin from the high-frequency vibrations of internal combustion. When you investigate how to repair engine mount systems, you aren't just fixing a "bracket"—you are restoring the structural integrity of your engine bay.
In my years of mechanical consulting with Owl-Let, I’ve seen that a single failed mount can cause a "domino effect," leading to snapped radiator hoses, misaligned exhaust manifolds, and even transmission shifting issues. Proper repair ensures that the torque produced by your engine goes to the wheels, not into shaking your dashboard.
What Happens If You Ignore a Failing Mount?
A broken mount allows the engine to "lurch" during acceleration. This movement puts immense strain on the axles and wiring harnesses. By the time you feel a violent "thud" when shifting into gear, you’ve likely already caused secondary damage to your cooling system or sensors.
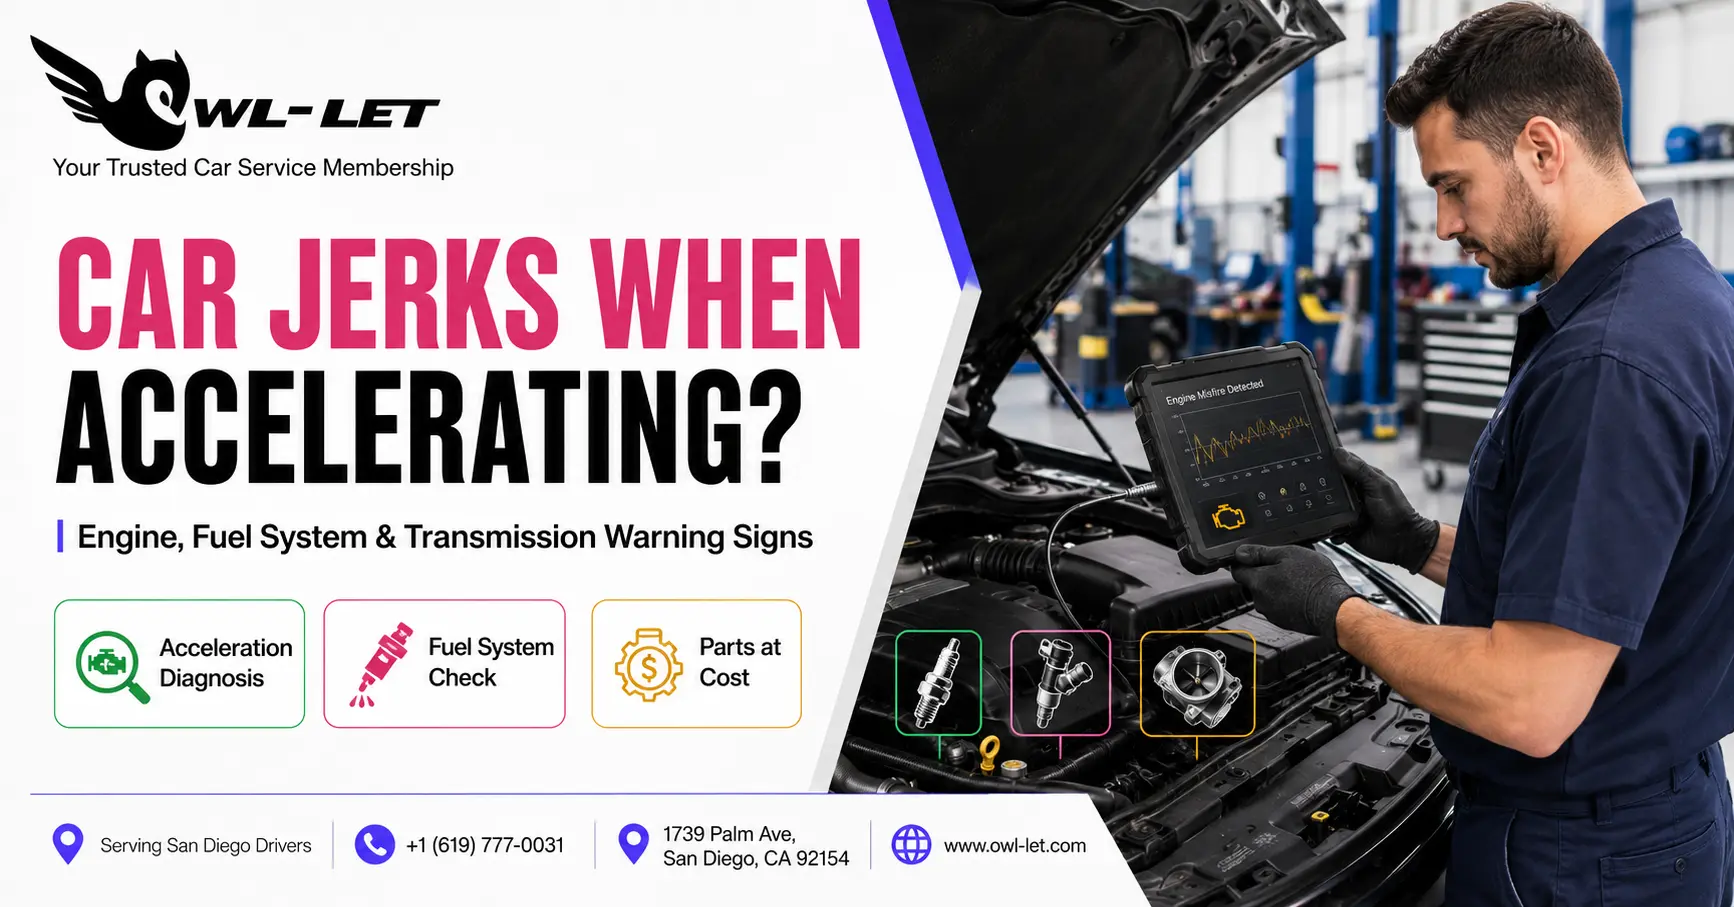
What Are the Symptoms of a Bad Engine Mount?
Before you pick up a wrench, you need to confirm the diagnosis. Modern 2026 vehicles often use hydraulic (fluid-filled) mounts that fail differently than traditional rubber blocks.
-
Vibration at Idle: If your steering wheel shakes noticeably while stopped at a light, the rubber has likely hardened or collapsed.
-
The "Clunk" Factor: A loud metallic bang when shifting from Park to Drive or during hard acceleration is a classic sign of a snapped mount.
-
Engine Slump: Open the hood and look at the engine's level. If it's tilting to one side, that mount has completely failed.
-
Visual Leaks: For hydraulic mounts, look for a dark, oily residue leaking from the mount itself.
How to Repair Engine Mount Components Safely
If you have moderate mechanical experience, you can tackle this job at home. Follow this Owl-Let approved process to ensure safety and precision.
1. Preparation and Safety
Park on a level surface and disconnect the negative battery terminal. Since you will be working under the engine, use heavy-duty jack stands to support the vehicle frame. Never rely solely on a floor jack.
2. Supporting the Engine (The Most Important Step)
You cannot remove a mount without taking the engine's weight off it. Place a floor jack under the engine’s oil pan. Crucial: Always use a wide block of wood between the jack and the oil pan to distribute the weight. Without the wood, the jack will puncture your oil pan, turning a $150 mount repair into a $2,000 engine disaster.
3. Removing the Old Mount
Locate the bolts securing the mount to the frame (chassis side) and the engine (bracket side). Use penetrating oil if the bolts are rusted. Once the bolts are removed, slowly raise the jack just an inch or two until the mount is clear of its perch.
4. Installing the New Unit
Compare the old and new mounts to ensure they are identical. Slide the new mount into place and hand-start all bolts. Do not tighten them yet. ### 5. Final Torque and Seating
Lower the engine back onto the mount. Use a torque wrench to tighten the bolts to your vehicle's specific foot-pound requirements (usually found in your service manual). At Owl-Let, we recommend checking the torque again after 50 miles of driving.
How Much Does It Cost to Repair an Engine Mount?
If you decide the DIY route isn't for you, understanding the market rates in 2026 is essential.
-
Parts Cost: Standard rubber mounts range from $50 to $150, while specialized hydraulic or active electronic mounts can cost $300 to $600.
-
Labor Cost: Most shops charge between $200 and $500 in labor per mount, depending on how buried the mount is in the engine bay.
-
Total Professional Cost: Expect to pay between $450 and $900 for a professional replacement of a single mount.
The Owl-Let Advantage: Holistic Mechanical Wellness
Whether you are figuring out how to repair engine mount issues or diagnosing a "no-start" condition in a lawnmower, the principle remains the same: Vibration is the enemy of longevity. At Owl-Let , we don't just look at the part that's broken; we look at why it broke. Was it aggressive driving? Was it an oil leak that softened the rubber? Our approach ensures that once you fix it, it stays fixed.
Conclusion: Securing Your Vehicle's Foundation
Mastering how to repair engine mount assemblies is a rite of passage for any serious DIYer. It requires patience, the right tools, and a deep respect for the weight of the machinery you are handling. By replacing worn mounts promptly, you protect your transmission, your exhaust, and your own driving comfort.
Keep Your Engine Steady – Trust the Owl-Let Vision.
Don't let a "shaky" engine ruin your driving experience. At Owl-Let ( www.owl-let.com ), we provide the insights and services you need to keep every machine in your life—from the car in your garage to the small engines in your shed—running at peak performance.
Eliminate Repair Anxiety Forever! Our signature Car Service Membership Plan starts at just $24.99 Monthly. Secure expert-level oversight for your vehicle and enjoy the road without the rattle—because a stable engine is the heart of a safe journey.
Comments 0
No comments yet
Be the first!