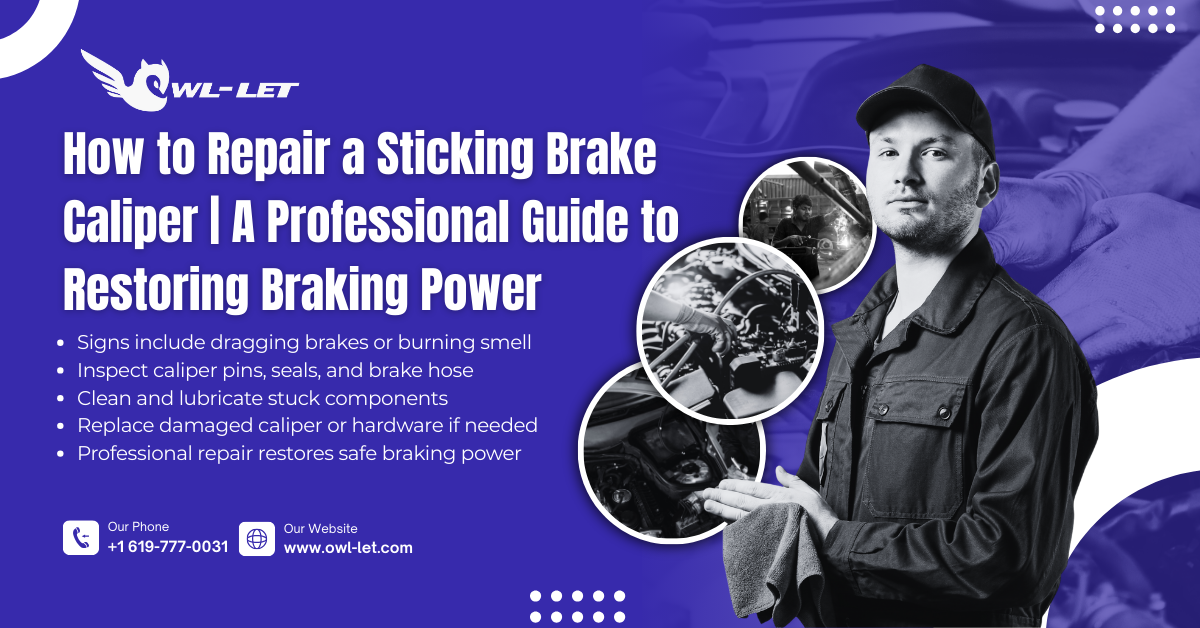
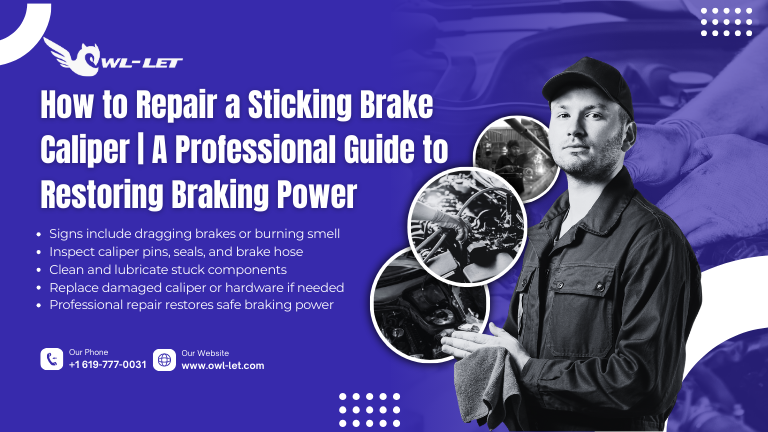
To fix a sticking brake caliper, elevate the vehicle, remove the wheel, and retract the piston using a C-clamp. Clean and lubricate the guide pins with high-temperature silicone grease. If the piston is seized due to corrosion or a torn dust boot, you must rebuild or replace the caliper assembly and bleed the brake system.
Quick Summary: Essential Repair Steps
|
Step |
Action Required |
Tools Needed |
|
Diagnosis |
Check for heat, pulling, or a burning smell. |
Infrared Thermometer |
|
Disassembly |
Remove caliper bolts and slide pins. |
Socket Wrench / Allen Keys |
|
Cleaning |
Remove rust from bracket and pins. |
Wire Brush / Brake Cleaner |
|
Lubrication |
Apply specialized grease to moving parts. |
Silicone-based Brake Grease |
|
Bleeding |
Remove air from the hydraulic lines. |
Brake Fluid / Bleeder Kit |
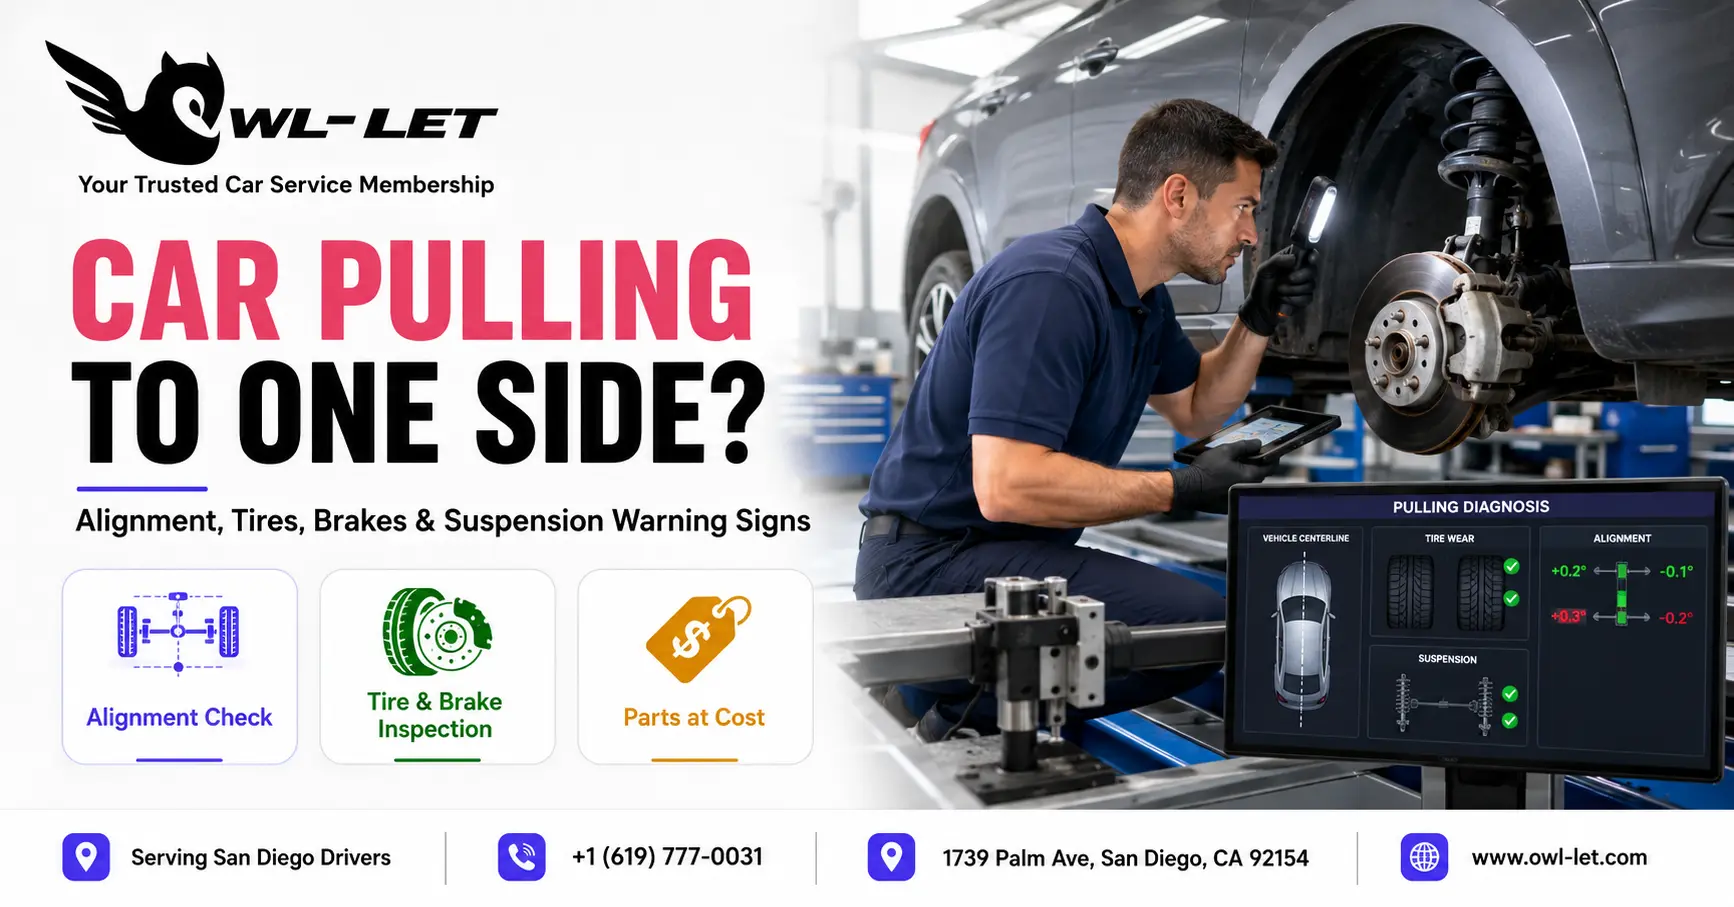
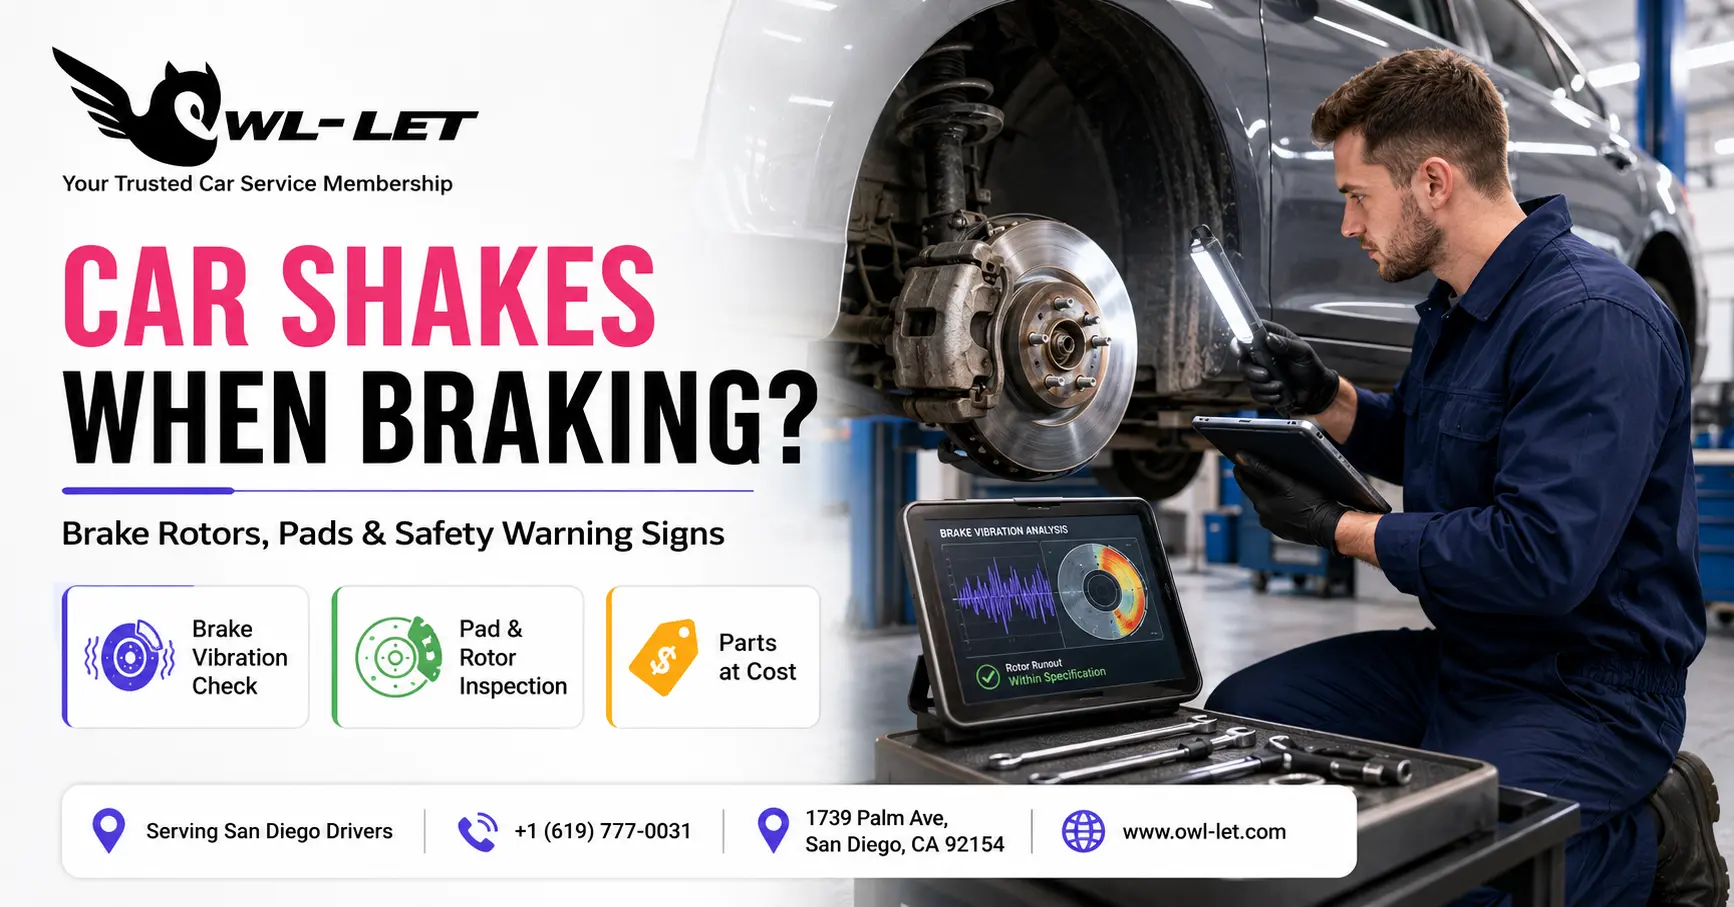
Why is My Car Pulling to One Side When Braking?
When you’re behind the wheel and feel your car "veering" or pulling toward one side, it is a classic symptom of a mechanical imbalance. In most cases, this is the result of knowing how to repair sticking brake caliper issues before they escalate. A seized caliper prevents the brake pads from retracting, causing constant friction on one rotor.
From a semantic search perspective, now prioritize "helpful content" that addresses the root cause. A sticking caliper isn't just a nuisance; it’s a thermal event. The excessive heat generated can warp rotors and crystallize pad material. At Owl-Let, we’ve observed that many DIYers mistake alignment issues for brake drag, but a quick "touch test" (carefully checking for radiant heat from the wheel) usually confirms the caliper is the culprit.
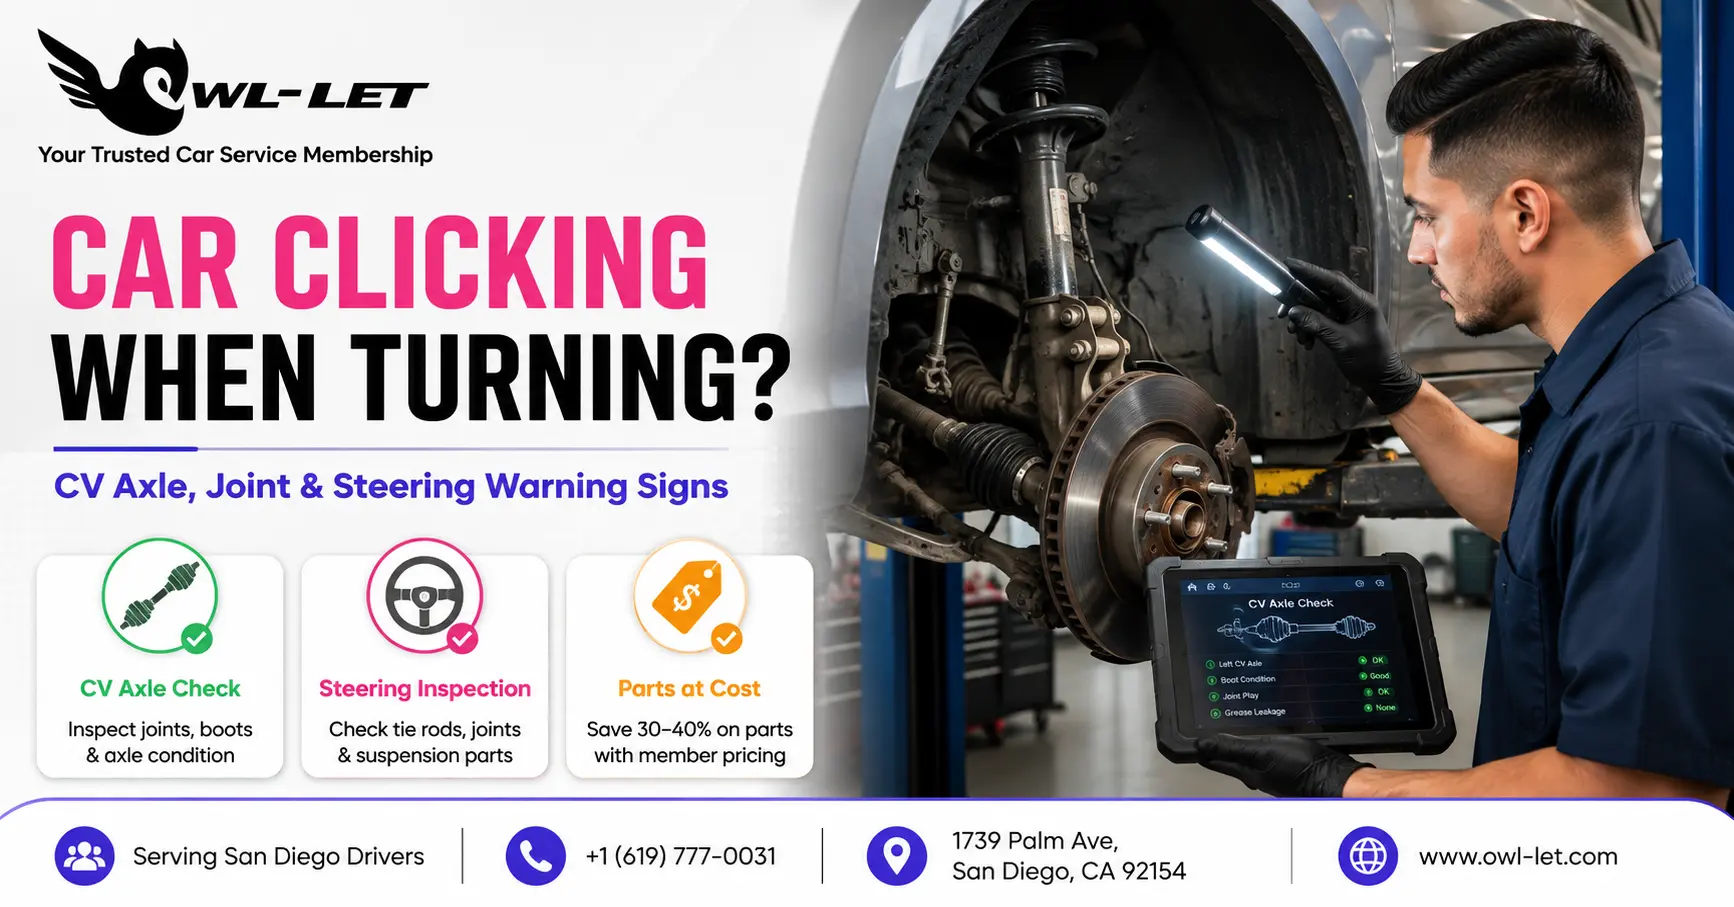
How Do You Identify the Symptoms of a Seized Caliper?
Before diving into the mechanical work, you must accurately diagnose the failure point. Look for these "Expert-Level" indicators:
-
The "Burning Bread" Smell: A distinct, acrid odor coming from the wheel well.
-
Reduced Fuel Economy: Constant brake drag acts like a parachute, forcing the engine to work harder.
-
Excessive Brake Dust: If one front wheel is significantly dirtier than the other, that caliper is likely staying engaged.
-
Abnormal Heat: Using an infrared thermometer, you might see one rotor at $300^\circ F$ while the other is at $150^\circ F$.
How to Repair Sticking Brake Caliper A Step-by-Step Professional Method
Repairing a caliper requires precision. Follow this structured approach to ensure your hydraulic system remains sealed and functional.
1. Safety and Preparation
Park on a level surface and loosen the lug nuts. Use a high-quality floor jack to lift the vehicle and secure it with jack stands. Never work on a car supported only by a jack.
2. Inspecting the Guide Pins
In many modern floating caliper designs, the most common failure point isn't the piston—it's the slide pins.
-
Remove the mounting bolts.
-
Pull the pins out of the bracket.
-
The Owl-Let Insight: If the pins are bone-dry or covered in "gunk," the caliper cannot center itself. Clean them until they shine using a wire wheel and apply Purple Ceramic Brake Grease.
3. Servicing the Caliper Piston
If the pins move freely but the pads won't release, the piston is seized within the bore.
-
Use a C-clamp or a brake spreader tool to gently compress the piston.
-
Warning: If the piston refuses to move even with significant pressure, the internal seals have failed or the bore is corroded. In this scenario, a full replacement is safer than a "quick fix."
4. Cleaning the Hardware Tracks
Rust buildup under the stainless steel "abutment clips" can pinch the pads, preventing them from sliding. This is often overlooked in basic tutorials. Scrub the bracket channels until you see bare metal.
Can You Fix a Stuck Caliper Without Replacing It?
Yes, but only if the "sticking" is external. If the guide pins or pad hardware are the cause, a thorough cleaning and re-lubrication will solve the problem. However, if the piston seal has perished or the brake hose has collapsed internally (acting as a one-way valve), the caliper or hose must be replaced to ensure safety.
Expert Note: According to [ISO/TC 22/SC 37 Standards], brake components should be inspected every 12,000 miles to prevent "environmental seizing" caused by road salt and moisture.
How Do I Bleed the Brakes After a Caliper Repair?
Anytime you open the hydraulic system or compress a piston, you risk introducing air or pushing contaminated fluid backward into the ABS module.
-
Attach a clear hose to the bleeder valve.
-
Have an assistant pump the brake pedal.
-
Open the valve to let fluid (and air bubbles) out.
-
Close the valve before the assistant releases the pedal.
-
Pro Tip: Always keep the master cylinder reservoir topped up with fresh DOT 3 or DOT 4 fluid to prevent sucking air into the system.
What are the Long-Term Solutions for Brake Maintenance?
Prevention is significantly cheaper than repair. At Owl-Let, we advocate for a "Semantic Maintenance" approach—understanding how every part of the wheel assembly interacts.
-
Flush Fluid Bi-annually: Brake fluid is hygroscopic (absorbs water), which leads to internal caliper corrosion.
-
Use High-Quality Lubricants: Avoid petroleum-based grease, which can swell rubber boots.
-
Regular Inspections: Catching a torn dust boot early can save you from needing to learn how to repair sticking brake caliper components in an emergency.
Conclusion: Drive with Confidence
Understanding how to repair sticking brake caliper issues is a vital skill for any vehicle owner. By focusing on the guide pins, piston health, and clean hardware, you ensure your car stops straight and stays efficient. At Owl-Let, we believe that expert knowledge should be accessible to everyone, ensuring the roads are safer for all.
If you prefer to have a professional handle your braking system, consider the peace of mind that comes with an Owl-Let Car Service Membership. For just $24.99 Monthly, you get priority scheduling and expert oversight to ensure your vehicle stays in peak condition. Visit www.owl-let.com to join our community of proactive car owners today.
Comments 0
No comments yet
Be the first!