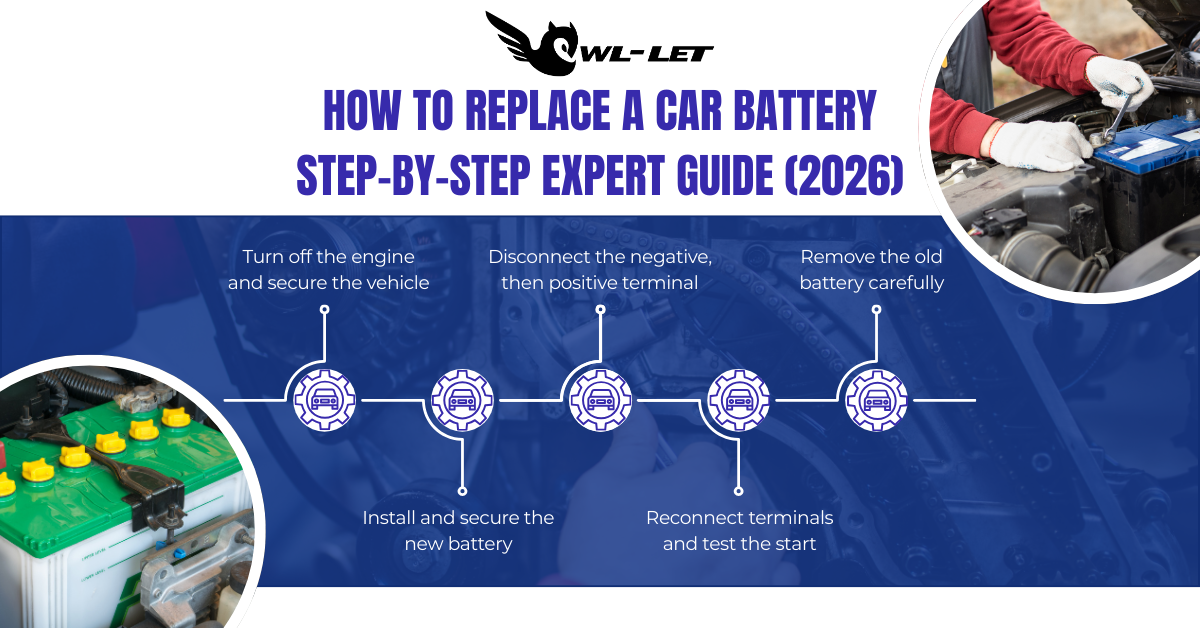
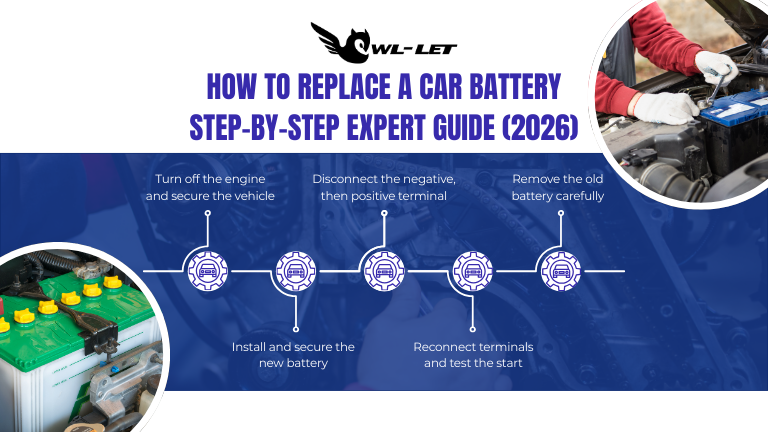
To replace a car battery, turn off the engine and wear safety gear. Disconnect the negative (black) terminal first, then the positive (red). Remove the hold-down bracket, swap the old battery for a new one, and reconnect the positive terminal first, followed by the negative to complete the circuit safely.
Quick Guide: Battery Replacement Essentials
|
Phase |
Key Action |
Estimated Time |
|
Preparation |
Gather 10mm wrench, gloves, and safety glasses. |
5 Minutes |
|
Removal |
Disconnect Negative (-) then Positive (+). |
10 Minutes |
|
Cleaning |
Scrub terminals with baking soda and water. |
5 Minutes |
|
Installation |
Connect Positive (+) then Negative (-). |
10 Minutes |
|
Verification |
Start engine and check charging voltage. |
2 Minutes |
Is Your Car Struggling to Start in the Morning?
A sluggish crank or flickering dashboard lights are the first signs that you need to learn how to replace a car battery before you're left stranded. In 2026, vehicle electronics are more demanding than ever, relying on a stable voltage to power everything from AI-assisted driving features to complex infotainment systems.
At Owl-Let, we’ve seen that most batteries fail not because of age alone, but due to "parasitic draw" from modern accessories. When you learn to swap your own battery, you aren't just saving on labor; you're ensuring your vehicle's "brain" (the ECU) remains powered and healthy.
What Tools Are Required for a DIY Battery Swap?
Before you pop the hood, ensure you have the right gear to handle lead-acid components safely.
-
10mm & 12mm Wrench: Most modern battery terminals use these standard sizes.
-
Battery Terminal Brush: Crucial for removing "white powder" (lead sulfate) corrosion.
-
Memory Saver (Optional): Plugs into your OBDII port to save your radio codes and seat positions.
-
Nitrile Gloves & Eye Protection: Protects against sulfuric acid splashes.
-
Anti-Corrosion Spray: To seal the new connections.
How to Replace a Car Battery | The Professional "Safety-First" Method
Follow this sequence exactly to avoid short-circuiting your car’s electrical system.
1. Locate and Secure the Vehicle
Park on a level surface and engage the parking brake. Ensure the ignition is off and keys are removed (some 2026 proximity keys can interfere with the computer reset if left inside).
2. The Critical Disconnection Order
Always remember the "Negative-First" rule.
-
Step A: Loosen the nut on the Negative (-) black cable. Pull it off and tuck it aside so it cannot touch the post.
-
Step B: Loosen the Positive (+) red cable.
-
Expert Insight from Owl-Let: If you touch a metal wrench between the positive terminal and the car's frame while the negative is still connected, you will create a massive spark. Removing the negative first breaks the ground circuit, making the rest of the job safe.
3. Remove the Hold-Down Bracket
Most batteries are secured by a metal strap or a bottom wedge. Unscrew the long bolts carefully—if these drop into the engine splash shield, they can be difficult to retrieve!
4. Install the New Unit
Lift the old battery out (be careful, they weigh 40–60 lbs) and clean the battery tray. Drop the new battery in, ensuring the terminals are oriented correctly to match your cables.
5. Reconnect in Reverse
Now, follow the "Positive-First" rule for installation.
-
Connect the Red (+) cable and tighten.
-
Connect the Black (-) cable. You may see a small spark—this is normal as the car's computers wake up.
How Do I Keep My Radio Settings During a Battery Change?
To avoid losing your radio presets, clock, or "Idle Relearn" data, use a Memory Saver. This small device uses a 9V battery or a portable power bank to provide a tiny amount of current through the OBDII port while the main battery is disconnected. At Owl-Let, we highly recommend this for vehicles made after 2015 to avoid a trip to the dealer for "system re-coding."
How Do You Clean Battery Corrosion Effectively?
If you see blue or white crust on your terminals, the connection is compromised.
-
Mix one tablespoon of baking soda into a cup of water.
-
Apply the solution to the terminals; it will bubble as it neutralizes the acid.
-
Scrub with a wire brush until the metal is shiny.
-
Dry thoroughly before installing the new battery.
Technical Note: In 2026, many vehicles use AGM (Absorbent Glass Mat) batteries. These require different charging profiles than standard flooded batteries. Always ensure your replacement matches the original specs ($12.6V$ to $12.8V$ resting voltage).
Conclusion: Powering Your Journey Ahead
Learning how to replace a car battery is an essential "Rite of Passage" for any car owner. It’s a 30-minute task that ensures your vehicle remains reliable, especially during the extreme heat or cold of the changing seasons. At Owl-Let, we aim to empower you with the knowledge to maintain your vehicle like a pro.
However, we know your time is valuable. If you’d rather have a certified technician handle your battery health, charging system tests, and general maintenance, join the Owl-Let Car Service Membership. For only $24.99 Monthly, we take the guesswork out of car care with scheduled inspections and priority support. Visit www.owl-let.com to secure your membership today and never worry about a dead battery again.
Comments 0
No comments yet
Be the first!